Weekly Deals
 Water Heaters
 Accessories
 Installation
 Parts
Parts
 Protection Plans


How to Winterize Your Tankless Water Heater: A Step-by-Step Guide for Canadians
Canada’s winter can be unforgiving, especially when temperatures plummet well below freezing. For homeowners who rely on tankless water heaters, preparing for the cold season isn’t just about comfort—it’s about protecting their investment. Proper winterization ensures your water heating system performs efficiently, even during harsh winter months. Without the right preparation, freezing temperatures can cause internal components to crack or malfunction, leading to costly repairs and unnecessary downtime.
Winterizing a tankless water heater involves carefully draining, cleaning, and insulating the system so that it can withstand extreme cold. Whether you live in the snowy regions of Alberta, the frosty expanses of Ontario, or along the windy Atlantic coast, taking the time to follow these steps will help ensure that your hot water remains reliable throughout the season.
Understanding Why Winterization Is Crucial
Tankless water heaters are built with advanced technology designed to deliver hot water on demand. However, cold weather can challenge even the most efficient system. The most common issue during winter is frozen water inside internal components or pipes. When water freezes, it expands, which can cause serious internal damage. Once that happens, leaks, pressure loss, or complete system failure can occur.
Winterization protects against these risks by eliminating standing water, safeguarding plumbing lines, and ensuring the heating system remains insulated against the cold. It also prolongs the lifespan of the appliance and maintains peak performance. Canadians who winterize regularly often enjoy smoother startups in spring, fewer maintenance issues, and greater energy efficiency.
Step One: Power Down the System
Before beginning the winterization process, the first and most important step is to safely power off the water heater. Start by turning off the gas supply or disconnecting the propane source if you are using a propane-powered model. Next, switch off the electrical supply to prevent accidental activation while performing maintenance. Ensuring that all power sources are off allows you to proceed safely without the risk of damage to internal components or personal injury.
Step Two: Shut Off the Water Supply
Once the system is powered down, turn off the main water supply leading to the water heater. This step prevents new water from entering the system during the draining process. If your setup includes both hot and cold isolation valves, close both completely. This isolation ensures that no residual water pressure can interfere with draining or cause unexpected leaks.
Step Three: Drain the Water Lines
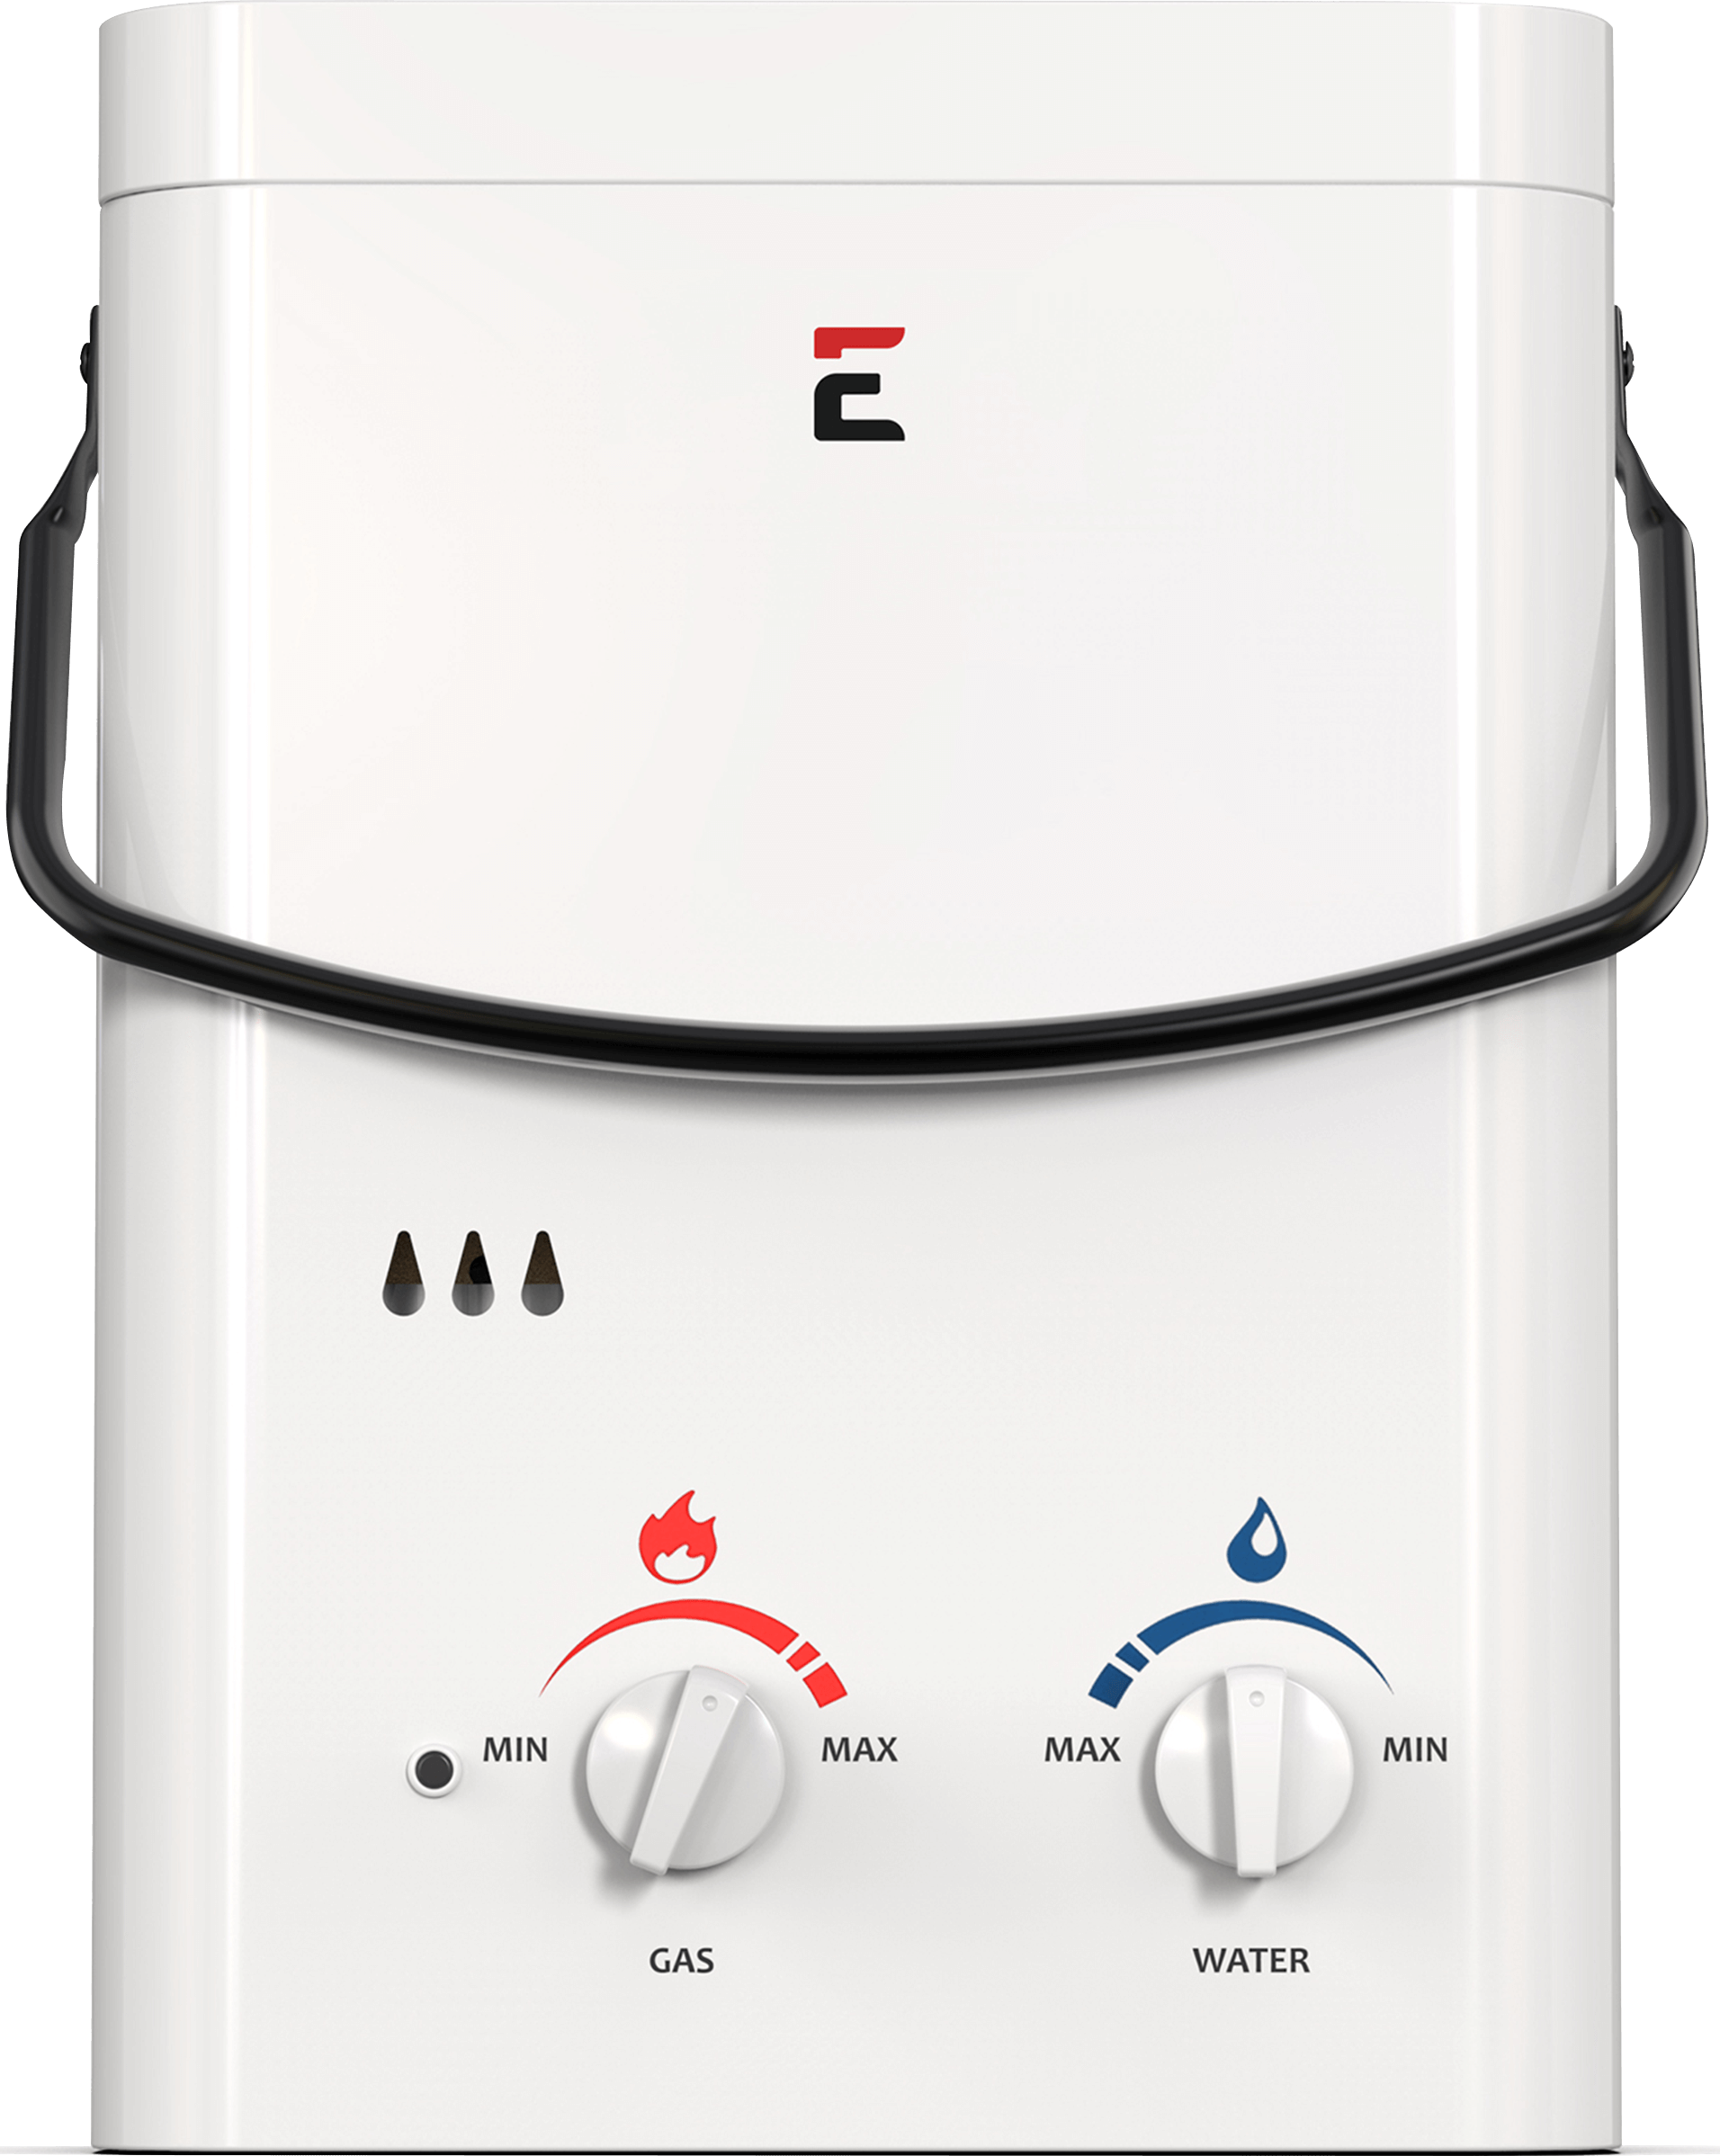
Draining is perhaps the most critical part of winterization. Begin by opening all hot water taps inside your home to release any remaining pressure. Then, connect a hose to the drain valve on the heater and allow all water to flow out completely. If you are winterizing an outdoor or portable model, ensure that it is positioned on a slight incline to help water drain more efficiently.
After the main system is drained, disconnect the inlet and outlet pipes to make sure no trapped water remains. You can also use compressed air to blow out any lingering moisture inside the lines, especially if your home is located in an area prone to deep freezing. Removing every trace of water ensures there is nothing left to freeze and cause damage.
Step Four: Clean the System
With the water drained, take the opportunity to clean the water heater. Over time, mineral deposits and sediment can accumulate inside, especially in regions with hard water. Flushing the system with a cleaning solution, such as a vinegar mixture, helps remove buildup that could affect performance. Allow the cleaning solution to sit for several minutes before rinsing it thoroughly with clean water.
Keeping the internal components clean ensures better heat transfer and energy efficiency. This maintenance step also prevents corrosion, which is a common issue when mineral deposits are left unchecked. Performing this cleaning as part of winterization will give you a head start when you restart the system in spring.
Step Five: Protect and Insulate
Even after draining and cleaning, additional protection against the cold is essential. Wrap exposed pipes with high-quality insulation to prevent freezing. In extremely cold areas, using electric heat tape along water lines can add an extra layer of security.
If you are winterizing an outdoor model, consider storing it indoors during the coldest months. Keeping it in a dry, temperature-controlled area such as a garage or basement helps prevent exposure to freezing air. For built-in systems that cannot be moved, a protective cover can be used to shield the appliance from snow and ice buildup.
Insulation and covering are simple but effective ways to protect your investment and ensure uninterrupted performance once temperatures rise again.
Step Six: Remove Filters and Drain Accessories
Many Eccotemp tankless water heaters come with inline filters designed to trap sediment and debris. Before winter, remove these filters and drain any remaining water inside them. Store them separately in a dry place until spring. This step not only prevents freezing but also ensures that the filters remain clean and ready for reinstallation later.
Additionally, if your setup includes accessories such as hoses, sprayers, or quick-connect fittings for outdoor models, make sure all components are drained and stored properly. Keeping them dry during the winter prevents cracking or deterioration caused by trapped moisture and cold exposure.
Step Seven: Verify Everything Is Dry
Once the draining, cleaning, and insulating steps are complete, it’s important to double-check that no water remains inside the heater or connecting pipes. Tilt the heater slightly to see if any water escapes. Inspect all valves, joints, and fittings to confirm dryness. Any remaining moisture could lead to freezing damage, so it’s best to take extra time to ensure complete dryness before storage or insulation.
Step Eight: Inspect and Test Before Spring
When the cold season ends, take time to carefully inspect the heater before restoring operation. Check for any visible signs of wear, damage, or cracks that may have occurred during freezing conditions. Reinstall filters, reconnect water lines, and slowly reopen the valves to reintroduce water into the system. Once everything is connected, power on the gas and electricity, and allow the heater to run for a few minutes to verify proper function.
Reversing the winterization process correctly ensures that your water heater resumes efficient operation without delays or complications.
How Eccotemp Simplifies Winterization
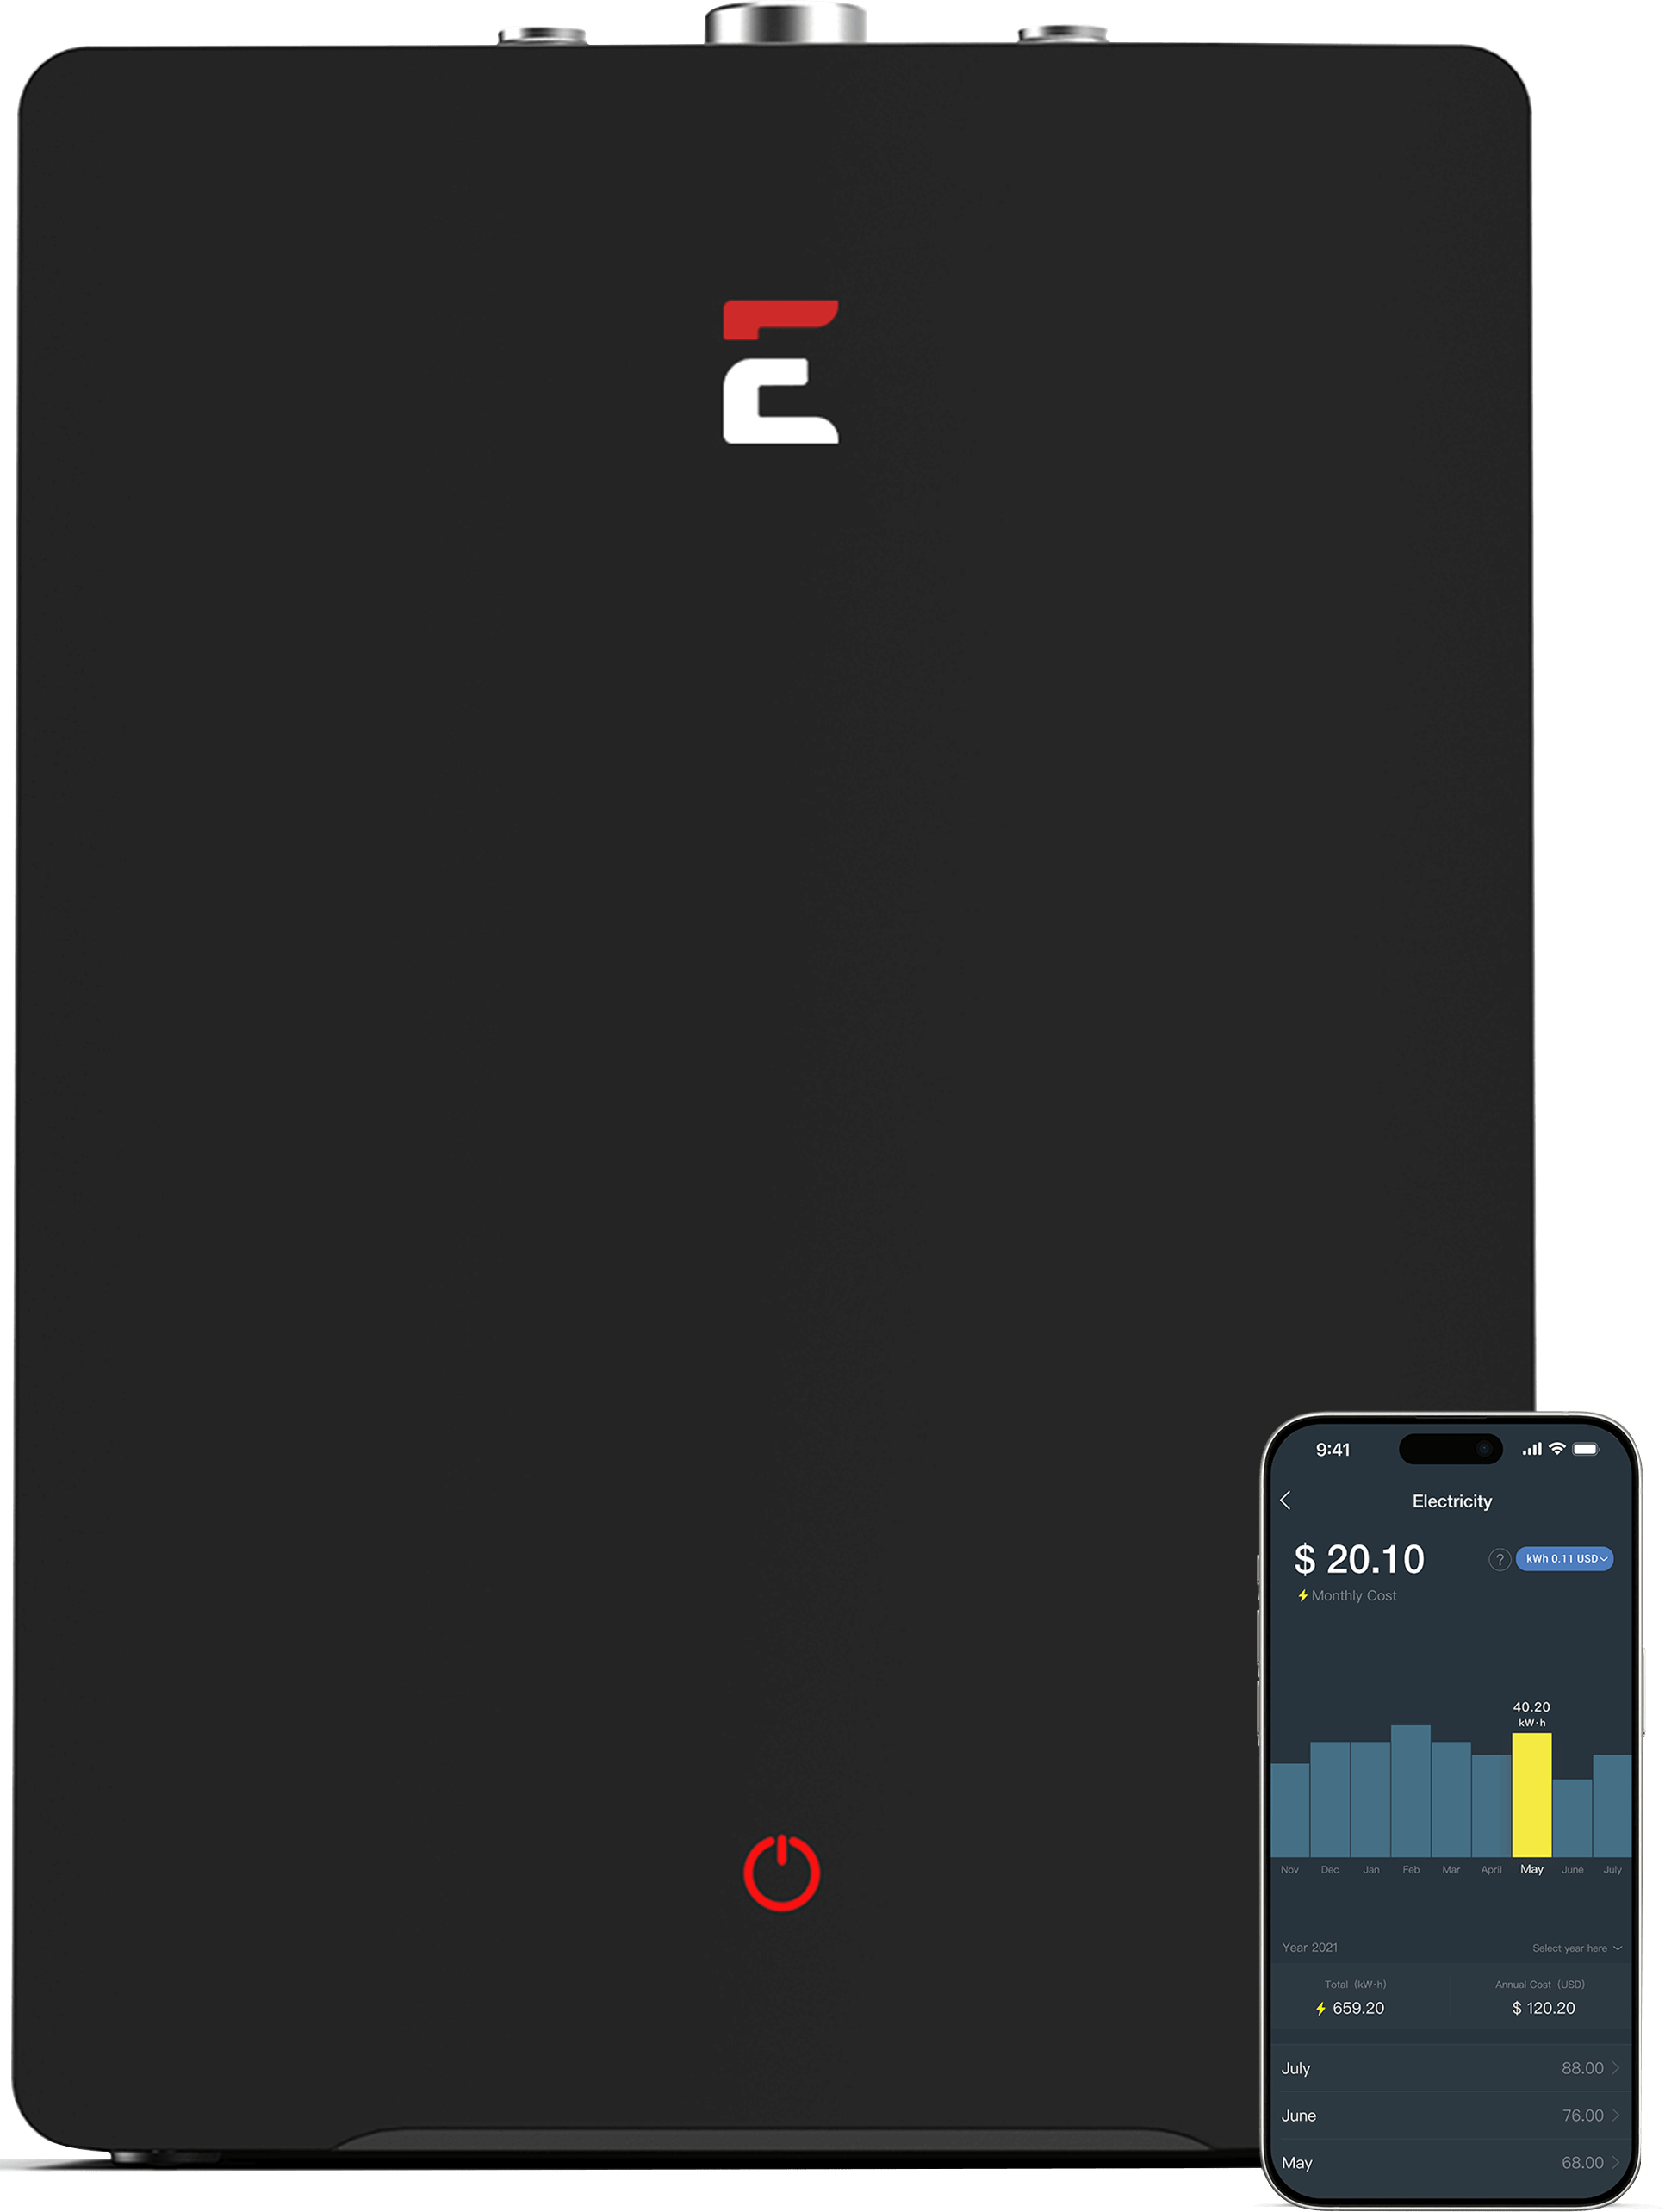
Eccotemp designs tankless water heaters with advanced features that make winterization straightforward and reliable. Many models come equipped with freeze protection technology that automatically activates when temperatures drop too low, helping safeguard internal components. For homeowners who live in remote or seasonal properties, these features are especially valuable, offering peace of mind even when you’re away.
In addition to these protective systems, Eccotemp provides accessible components that make draining and maintenance easier. The straightforward setup helps homeowners manage winterization without professional assistance, though professional servicing is always an option for those who prefer expert care.
Eccotemp’s commitment to innovation ensures that Canadians can enjoy hot water year-round—no matter how extreme the weather becomes.
The Benefits of Proper Winterization
Winterizing a tankless water heater not only prevents costly damage but also maintains long-term efficiency. A properly maintained system consumes less energy, operates quietly, and delivers consistent hot water when needed. Regular winterization also ensures that when spring arrives, you won’t need to deal with unexpected repairs or performance issues caused by freezing damage.
By taking a proactive approach, homeowners can extend the lifespan of their system and avoid the frustration that comes with cold-weather complications. A few hours of preparation before winter can save significant time and expense later.
Final Thoughts
For Canadians, winter is both beautiful and challenging. Preparing your tankless water heater for freezing temperatures is a vital part of maintaining home comfort and efficiency. By following the steps above—powering down, draining, cleaning, insulating, and inspecting—you ensure reliable performance and peace of mind all season long.
Eccotemp’s range of tankless water heaters, designed with durability and ease of use in mind, make the process simpler and safer. Whether you use your water heater daily in a permanent home or occasionally in a cottage or cabin, proper winterization is key to protecting your investment and guaranteeing consistent hot water whenever you need it most.
Frequently Asked Questions (FAQ)
How often should I winterize my tankless water heater in Canada?
Winterization should be done once per year, ideally before temperatures drop below freezing. If you live in a region with long or particularly harsh winters, performing a mid-season check can also help ensure continued protection.
Can I use antifreeze when winterizing my water heater?
Yes, in extreme conditions, non-toxic RV antifreeze can be used in outdoor or portable systems for extra protection. Always refer to your product manual for compatible materials.
What happens if I forget to winterize my water heater?
If left unprotected, freezing temperatures can cause water inside the system to expand, leading to cracks or leaks. Repairs can be costly, so preventive care is always the best approach.
Is professional help needed for winterization?
Most homeowners can complete winterization themselves by following Eccotemp’s guide. However, professional assistance is recommended if your setup includes complex plumbing or hard-to-reach installations.
Does Eccotemp offer freeze protection features?
Yes. Many Eccotemp models come equipped with built-in freeze protection systems that automatically activate to prevent freezing when the temperature drops too low. These features work best when the system is connected to a reliable power source.